

How To Draw A Double Banner
In this video, I'm going to show you how to draw those cool multi-stacked, layered banners like a pro. Looking for a beginner's guide to banners? Check here instead.
You'll learn:
- How to draw a super simple straight stacked banner
- How to draw a diagonal stacked banner
- How to draw a wavy stacked banner
- How to draw a wide stacked banner
- How to embellish your banners
- AND SO MUCH MORE!
First Things First…
Tools Mentioned
- Marker Paper
- Rhodia Graph Paper
- Sharpie Marker
The links below may be affiliate links where appropriate. This means that your purchase through these links may result in a few cents in payment to me, to support creating further resources like this one! That being said, I will never suggest supplies that I do not personally use and fully recommend.
Now let's get started!
Prefer watching over reading? Feel free to skip right to the video and see these in real-time! ??
So how do you draw those extra fancy banners?
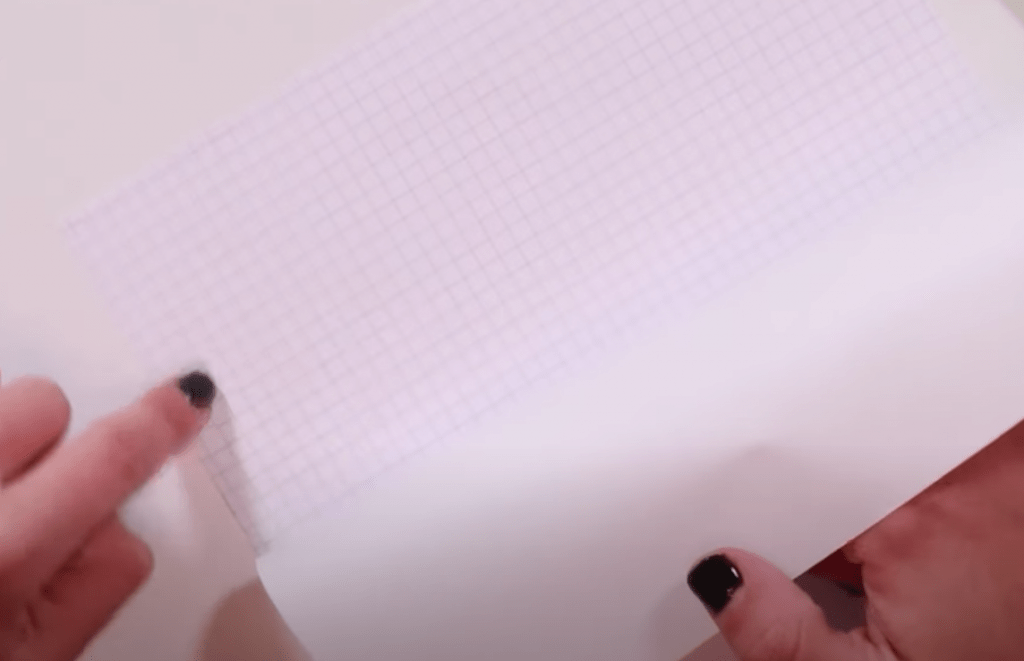
Start by layering on a sheet of marker paper over a sheet of Rhodia graph paper, and some simple black Sharpie markers (I LOVE using them), but a pencil works just fine, too.
Super Simple Straight Stackers To Start!
Step 1: Draw two sets of parallel lines

Step 2: Close off the ends

Step 3: Add in the back overlapping pieces

Step 4: Connect the center

Keep in mind, all of the lines you draw at their respective angles should be as parallel to each other as possible! They don't need to be perfect, just as close as you can get them so they stay visually appealing.
And for variation…
Step 1: More parallel lines!

Step 2: Only close off the middle one

Step 3: Close off and add angles on opposite sides

Step 4: Connect the centers

Aaand one more…
Step 1: Offset parallel lines

Step 2-4: Repeat same as above


Next, Some Diagonal Doozies!
Step 1: Draw parallel lines, diagonal from each other

Step 2: Connect the lines
Use a ruler here if you need to!

Step 3: Draw two more boxes

Step 4: Make the connections
For these, they DON'T need to connect at equal parallels (see below).

And for variations…
Step 1: Draw your parallel boxes, at different lengths

Step 2: Add a third, small box similar to the first top one

Step 3: Draw your first angled connection
Remember, the rest of the connections will follow that same direction.


Step 4: Draw your back flags
Follow the same angle!

Moving On To The Wavy Ones…
These don't require as much precision, but still definitely need lines to be as parallel as possible.
Step 1: Draw a single wavy line

Step 2: Draw your connections first
Note: Remember to keep them similar lengths. Count the squares in the graph paper to help!

Step 3: Following the top wave, draw in the bottom one

Repeat steps 1-3…
-

-

It mirrors the top shape.
And finally, add in your flags and follow the roundness of the shape to add your middle connections

Some wavy variations…

-

And add in the flags. -

And Finally, The Weird Wide Ones
If you're working on a landscape paper, a really long envelope or a chalkboard, wide banners come in handy!
Step 1: Draw a bunch of wavy lines

Step 2: Draw lines of the same length, coming down

Step 3: Close off your boxes
Make sure to mimic the top curve as you close off them off.

Step 4: Draw in your flags

Step 5: Close off the backs

And some variations…


Some embellishments
You can refer back to my beginner banners video here and get this result!

And that's a wrap!
Get my free downloadable worksheet to reference while drawing your advanced banners:
How To Draw A Double Banner
Source: https://www.thehappyevercrafter.com/blog/advancedbanners/
Posted by: meaghercasere1999.blogspot.com
0 Response to "How To Draw A Double Banner"
Post a Comment